
Last Updated on: 8th January 2024, 08:46 pm
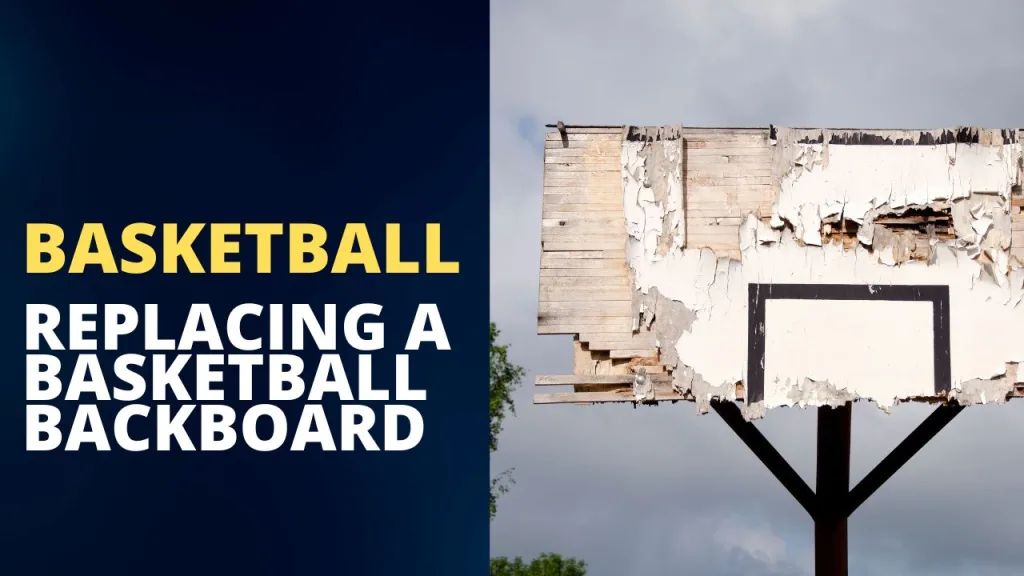
Are you tired of playing basketball with a damaged backboard? Well, it’s time to take matters into your own hands and replace it!
This article will guide you through replacing a basketball backboard step-by-step.
You’ll learn how to assess the damage, gather the necessary tools and materials, remove the old backboard, install the new one, and add the finishing touches.
So, grab your tools and prepare to bring new life to your basketball court!
Ensuring Material Compatibility for Your Backboard
When replacing your basketball backboard, it’s crucial to ensure the material of the new backboard is compatible with your existing system. Different materials offer various levels of durability and rebound quality.
Common backboard materials include acrylic, polycarbonate, and tempered glass, each with unique characteristics.
Acrylic backboards offer good rebound and are lightweight, making them ideal for casual play.
Polycarbonate backboards are more durable and suited for aggressive play, while tempered glass provides professional-level rebound performance but is heavier and requires a robust support structure.
Choosing the right material will enhance your playing experience and ensure the longevity of your basketball system.
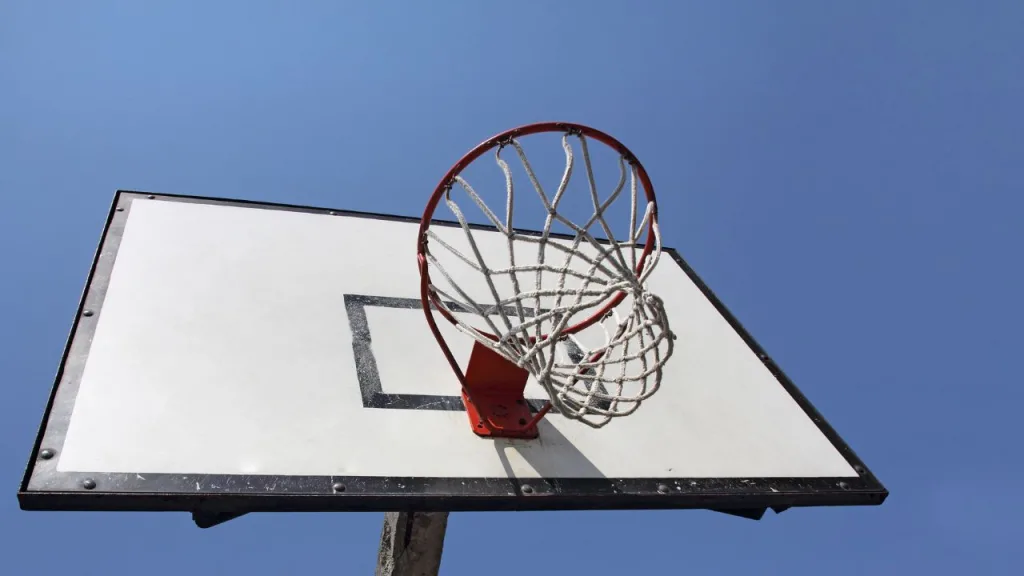
Assessing the Damage
Before deciding on the best course of action, we must assess the damage to the basketball backboard.
Start by carefully examining the backboard for any visible cracks or breaks. If you notice any, it’s essential to determine the extent of the damage.
Gently tap on different areas of the backboard to check for hollow sounds or vibrations, which could indicate structural issues. Inspect the rim and net, as the impact may have affected them.
Note any missing parts or loose connections that could compromise the backboard’s stability.
It’s crucial to assess the damage thoroughly to determine whether a repair or a complete replacement is necessary.
Gathering the Necessary Tools and Materials
You must travel to the hardware store to gather the necessary tools and materials.
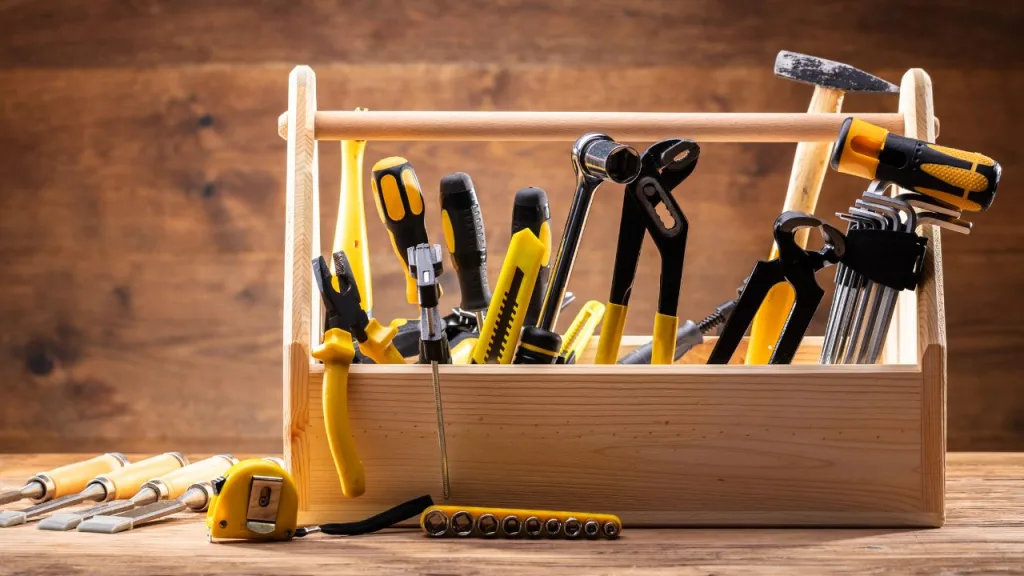
Start by grabbing your trusty measuring tape to determine the backboard size you’ll replace.
Next, you’ll need a sturdy ladder to reach the basketball hoop safely.
Don’t forget to bring a drill with different drill bit sizes to remove the old backboard and install the new one securely.
Pick up some heavy-duty screws and brackets to firmly attach the backboard to the hoop.
You’ll also need a level to ensure the backboard is perfectly aligned.
Lastly, don’t forget to grab safety goggles and gloves to protect yourself during installation.
Now, you’re ready to head to the hardware store and gather everything you need for this project.
Removing the Old Backboard
You’ll want to remove any screws or brackets securing the old backboard.
Begin by locating the screws or brackets holding the backboard in place. Use a screwdriver or a wrench to loosen and remove them individually. Keep track of the screws or brackets so you can easily install the new backboard later.
Once all the screws or brackets are removed, carefully remove the old backboard and set it aside. Be cautious not to damage any surrounding structures or the basketball hoop itself.
With the old backboard removed, you’re now ready to move on to installing the new backboard.
Considerations for Portable Hoops
When replacing a backboard on a portable hoop system, it’s essential to consider the base stability. Portable hoops vary in design, and adding a new backboard, especially if it’s heavier than the original, can affect the system’s balance.
It’s important to ensure the base is sufficiently weighted or stabilized to handle the new backboard’s weight. This helps prevent tipping and maintains safe play conditions.
Always refer to the manufacturer’s guidelines for weight limits and installation advice.
Installing the New Backboard
Once all the screws or brackets are removed, it’s time to install the new backboard carefully.
Start by placing the backboard against the mounting bracket, ensuring it properly aligns.
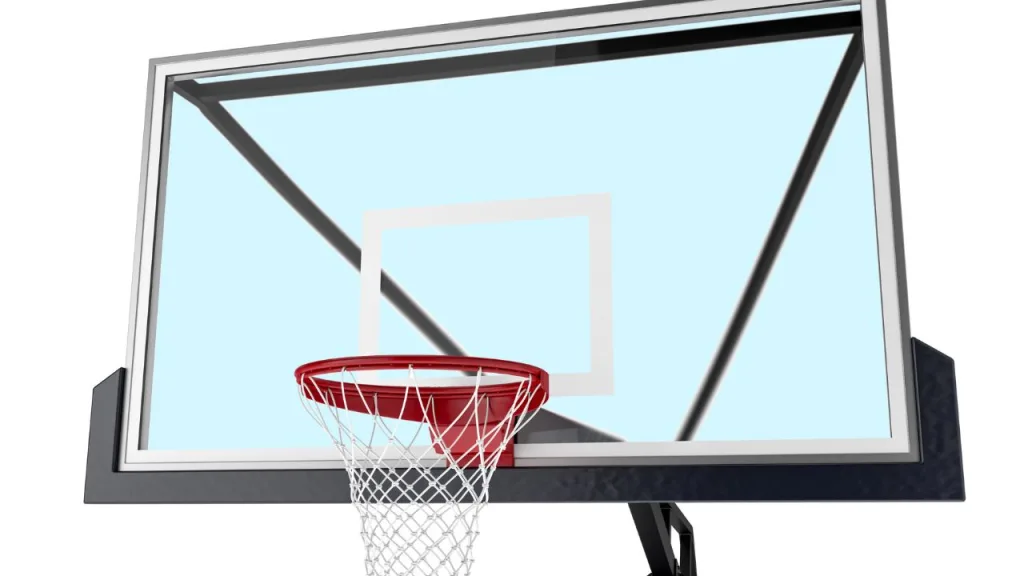
You’ll then need to secure the backboard by inserting screws through the pre-drilled holes. Make sure to tighten the screws firmly, but be careful not to overtighten and damage the backboard.
Next, attach the rim to the backboard using the provided hardware. Double-check that the rim is securely attached and properly aligned.
Finally, step back and admire your work. You’ve successfully installed the new backboard!
Now, it’s time to test it out and enjoy some basketball. Remember always to follow safety guidelines and closely monitor the backboard’s condition to ensure it remains in good shape for years.
Understanding the Y-Bracket in Backboard Replacement
The Y-bracket is crucial in securely attaching the backboard to the pole system. It’s essential to ensure the new backboard is compatible with the existing Y-bracket or to replace the bracket if necessary.
This component varies based on backboard size and material, impacting stability and durability. When replacing your backboard, confirm the Y-bracket’s specifications to guarantee a perfect fit and safe installation.
Testing and Finishing Touches
After securing the backboard and attaching the rim, it’s time to give it a final test and make any necessary finishing touches.
Step back and take a moment to admire your hard work. Now, it’s time to see if your new basketball backboard is ready for action.
Grab a basketball and head to the court. Take a few shots and see how the backboard performs. Does it provide a good bounce? Is it sturdy enough to handle a powerful slam dunk? Pay attention to any vibrations or wobbling.
If everything seems solid and in place, you’re almost done. Now, take a closer look at the backboard. Are there any scratches or imperfections? Use a cloth and cleaning solution to wipe away dirt and make it shine.
Congratulations! You’ve successfully replaced your basketball backboard. Now, get out there and enjoy the game!
DIY Backboard Materials: Plywood, MDO, and More
Are you interested in a custom backboard? Explore DIY options using materials like plywood for a basic structure, MDO plywood for weather resistance, or solid wood glue-up for a robust build. Enhance durability with edge binding and foam padding.
For a unique touch, cover plywood with canvas, creating a smoother surface for the ball. This approach allows for creative, cost-effective backboard solutions tailored to your playing style and environment.
Different Types of Rims: Enhancing Your Backboard Replacement
When replacing a basketball backboard, it’s also crucial to consider the rim type. There are three main types:
- Standard Rims: These are the basic, no-frills rims. Ideal for casual play, they are durable but don’t offer shock absorption.
- Spring-Loaded Rims: These rims have a spring mechanism that provides a slight give when the ball hits the rim, making them a good choice for intermediate players.
- Break-Away Rims: Designed for advanced play, these rims can bend downward under pressure, which is great for dunking, and then snap back into place.
Understanding the compatibility of your backboard with these rim types is essential for optimal play and safety.
Choosing the Right Shape: Rectangular vs. Fan-Shaped Backboards
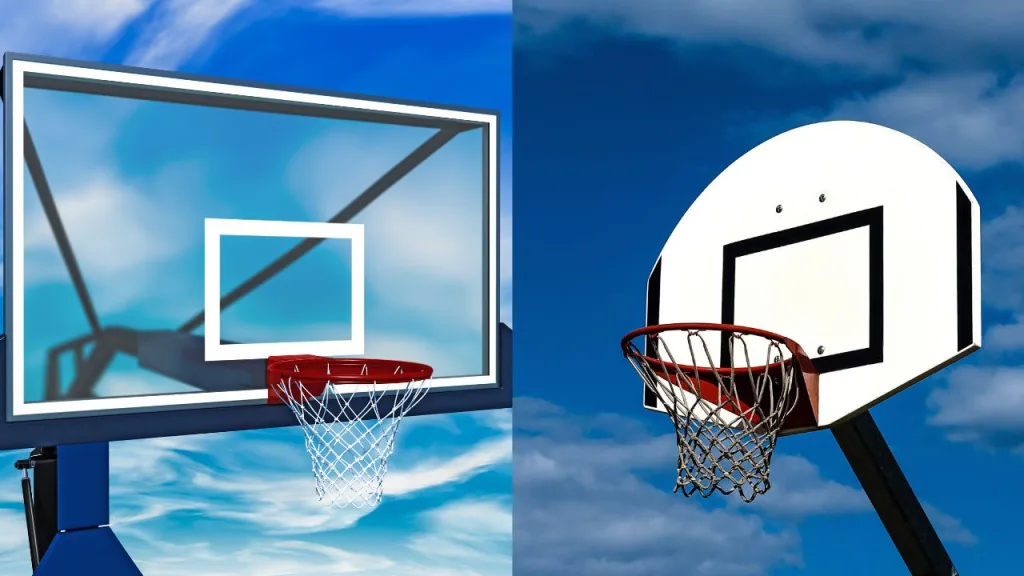
When replacing a basketball backboard, the shape is a crucial consideration. Rectangular backboards, the standard in competitive basketball, offer a larger rebound surface and are preferred for serious play. They provide more room for bank shots and are typically seen in professional settings.
On the other hand, fan-shaped backboards are more compact and ideal for casual, recreational play, especially in limited spaces. While they offer less rebound area, their design is more economical and suitable for home environments.
Frequently Asked Questions
How Do I Choose the Right Replacement Backboard for My Basketball Hoop?
There are a few factors to consider when choosing the right replacement backboard for your basketball hoop. First, you’ll want to measure the dimensions of your existing backboard. This will help you determine the size of the replacement backboard you need.
Next, you’ll want to choose a durable material for your new backboard. Many experts recommend tempered glass as it is known for its durability and professional feel.
Finally, you’ll want to ensure that the replacement backboard is compatible with your existing hoop’s mounting brackets. This will ensure a proper fit and easy installation.
What Are the Common Mistakes to Avoid When Removing an Old Backboard?
When removing an old backboard, it is important to take safety precautions. Wear gloves and protective eyewear to protect yourself from any potential injuries. Additionally, it is essential to avoid rushing the process. Take your time and work carefully to remove the backboard properly. Using excessive force can lead to accidents or damage, so it is best to be patient and gentle. Finally, be mindful of the surrounding area. Avoid damaging any nearby objects or surfaces as you remove the backboard.
Can I Reuse the Mounting Brackets From the Old Backboard for the New One?
Yes, you can reuse the mounting brackets from the old backboard for the new one. Ensure they are still in good condition and properly secure them to the new backboard.
How Long Does It Typically Take to Install a New Basketball Backboard?
Typically, it takes about an hour or two to install a new basketball backboard. However, this can vary depending on your experience and the specific instructions provided with the backboard.
Installing a new basketball backboard usually takes about an hour or two. However, the time required can vary depending on your experience and the specific instructions provided with the backboard.
Are There Any Specific Safety Precautions I Should Take During the Installation Process?
It’s important to take specific safety precautions during the installation process for a new basketball backboard.
Make sure to wear protective gear and secure the backboard properly.
Additionally, it’s recommended to have someone assist you for added safety.
Conclusion
So there you have it! You’ve successfully replaced your basketball backboard. Following the steps outlined in this article, you could assess the damage, gather the necessary tools and materials, remove the old backboard, install the new one, and complete the final touches.
Now, it’s time to enjoy your newly installed backboard and get back to playing basketball. Keep practicing those shots, and have fun!
